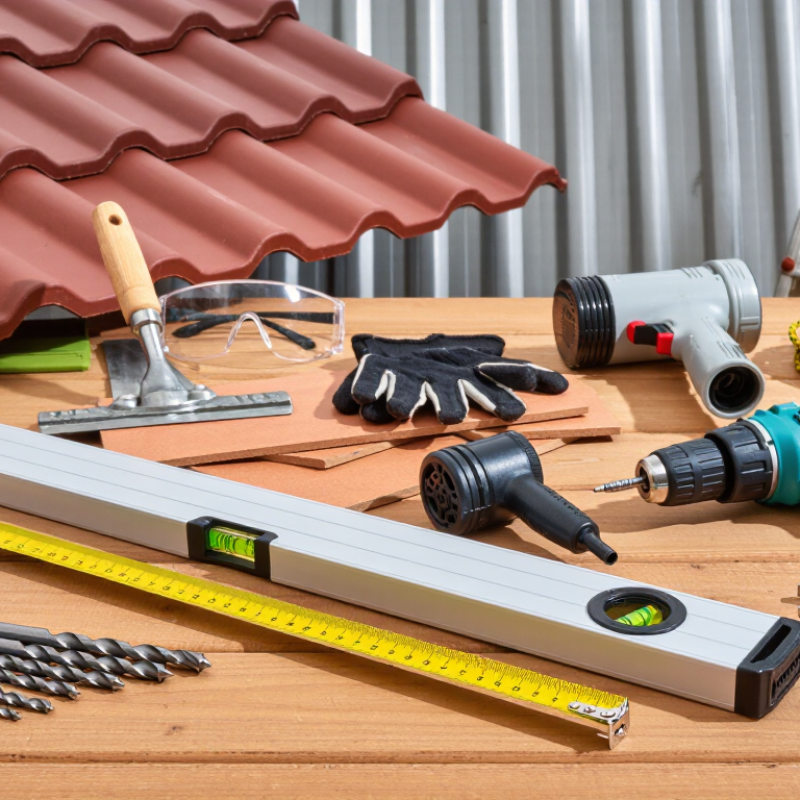
Installing solar brackets requires more than a drill and a box of fasteners. The right tools help create accurate measurements, secure connections, and a stable mounting layout. What tools are needed for solar bracket installation? Most projects use a tape measure, chalk line, spirit level, drill or impact driver, suitable drill bits, socket set, and torque wrench. The exact kit depends on the roof, bracket design, and fasteners specified by the manufacturer.
On a tiled roof, installers may also need tile-lifting tools and equipment for careful cutting. Metal roofs call for compatible bits and fastening tools. A ladder, fall-protection equipment, safety glasses, and gloves support safer work. Keep the manufacturer’s installation instructions close by. They identify required fasteners and tightening values; guessing torque can damage components or leave connections loose. Small details matter.
Before work begins, check that measuring tools are accurate and drill bits suit the material. Lay out brackets against the planned rail positions, then confirm spacing and alignment before drilling. A level surface is not always a straight roof. That can be easy to miss. This guide explores essential tools, roof-specific additions, and practical checks for a more controlled installation. No single tool list fits every site, and that limitation deserves attention. When roof structure or installation requirements are unclear, consult a qualified solar professional instead of improvising.
China’s solar fleet reached about 886.7 GW of installed capacity in 2024. That scale covers many site conditions, not one standard bracket design. A useful installation guide begins by identifying the system type and checking the roof or ground, wind exposure, and module layout.
Fixed-tilt brackets hold panels at a set angle. They are common on rooftops and ground-mounted arrays, where simple geometry helps crews align rails and modules. Adjustable-tilt systems allow angle changes, but add hardware and inspection points. Single-axis trackers rotate panels during the day; their moving parts call for careful alignment and planned maintenance. A tracker is not automatically an upgrade.
The setting matters. Roof-mounted brackets must suit the roof structure and approved attachment points. Ground systems need stable foundations and clearances for access. Carport structures combine panel support with a vehicle canopy, so post placement affects both uses. Different jobs need different tools: a calibrated torque wrench, level, measuring tape, and suitable drilling equipment are typical examples. Exact fastener torque and tool requirements should come from the system specifications, not guesswork. Small alignment errors can accumulate across a long rail, and crews sometimes discover this too late.
Bring the specified sockets, hex keys, a calibrated torque wrench, and a compact level. A tool lanyard can help keep hardware from falling near roof edges.
Confirm safe roof access and fall protection first. Small checks matter.
Use a laser or builder’s level, stringline, tape measure, post-alignment aids, and deep sockets. Check row spacing and post plumb before tightening.
An inclinometer and alignment jig help check angles along long rows. Even a small mismatch can affect alignment. Recheck the setup.
Use one only for approved assembly steps. Tighten structural fasteners with a calibrated torque wrench set to the specified value.
Follow the value for the exact fastener and mounting assembly. Bolt size alone is not enough; rail material, washers, and thread condition can matter.
Seat each bracket evenly and follow the specified tightening sequence. Pull the wrench smoothly until it signals. Avoid jerking.
Stop and inspect the threads, washer, and alignment. Do not force it. A quick fix may hide a bigger issue.
Mark checked fasteners with an inspection stripe and record torque settings and completed sections. Keep tools within their calibration interval, with spare batteries and sockets nearby. We may still miss something. Recheck a sample after the first row.
China’s solar fleet reached 886.7 GW in 2024, making safe, accurate bracket installation an important part of every project. What tools are needed for solar bracket installation? The answer depends on the mounting system: roof brackets, ground-mount structures, and trackers may each require different measuring, marking, drilling, leveling, and fastening tools. Start by identifying the bracket type and reviewing the project drawings and the equipment manufacturer’s specifications before choosing tools or preparing fasteners.
Lay out each component according to the approved design, use fasteners specified for the system, and tighten connections to the manufacturer’s stated torque values with a suitable torque tool. For work involving electrical equipment, inspect insulated tools and confirm they are rated to IEC 60900 for the applicable conditions, including systems up to 1,000 V AC and 1,500 V DC. Careful preparation and verification help support consistent installation quality and worker safety.

 Soltrux Solar