1 / 5
| Model NO. | Solar Panel Mounting Brackets |
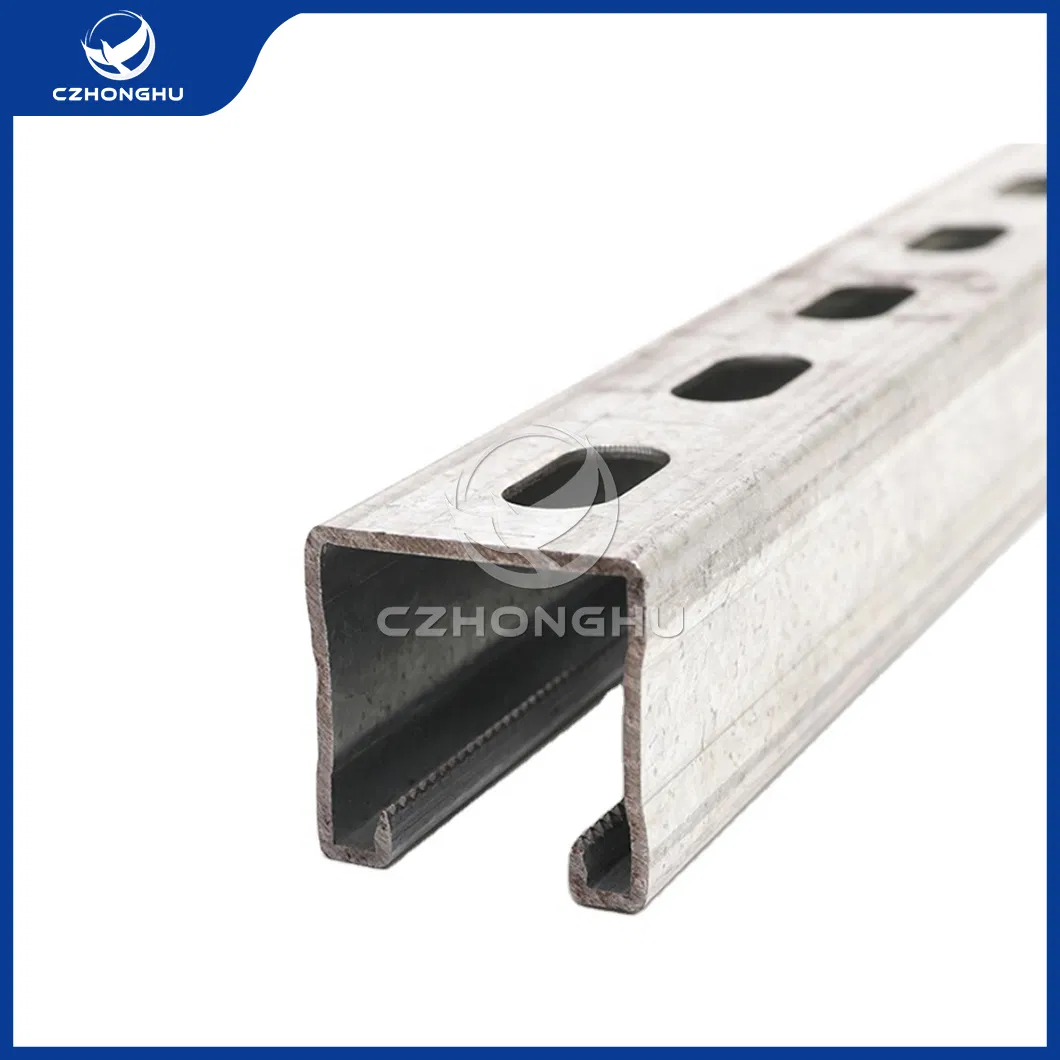
| Material | Steel / Aluminum / Carbon Steel |
| Product Application | Solar Panel Mounting/Ground/Tile Roof/Flat Roof |
| Installation Site | Roof/Rooftop/Metal Roof/Open Ground/Tin Roof |
| Surface Treatment | Anodized / Hot-DIP Galvanized |
| Wind Load | Up to 60m/S (Customizable) |
| Snow Load | Up to 1.8kN/M2 (Customizable) |
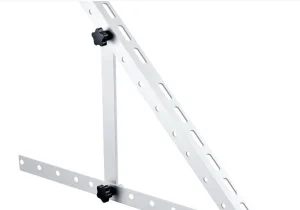
| Tilt Angle | 0 ~ 60 Degrees |
| Production Capacity | 200,000 PCS/Month |
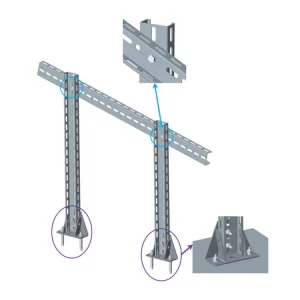
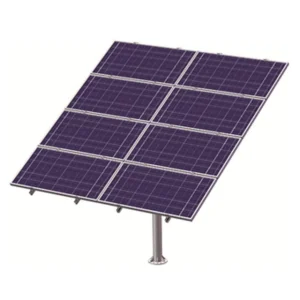
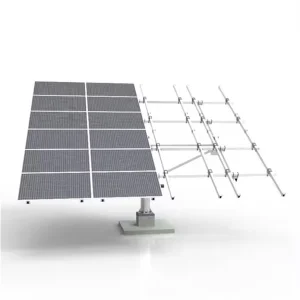
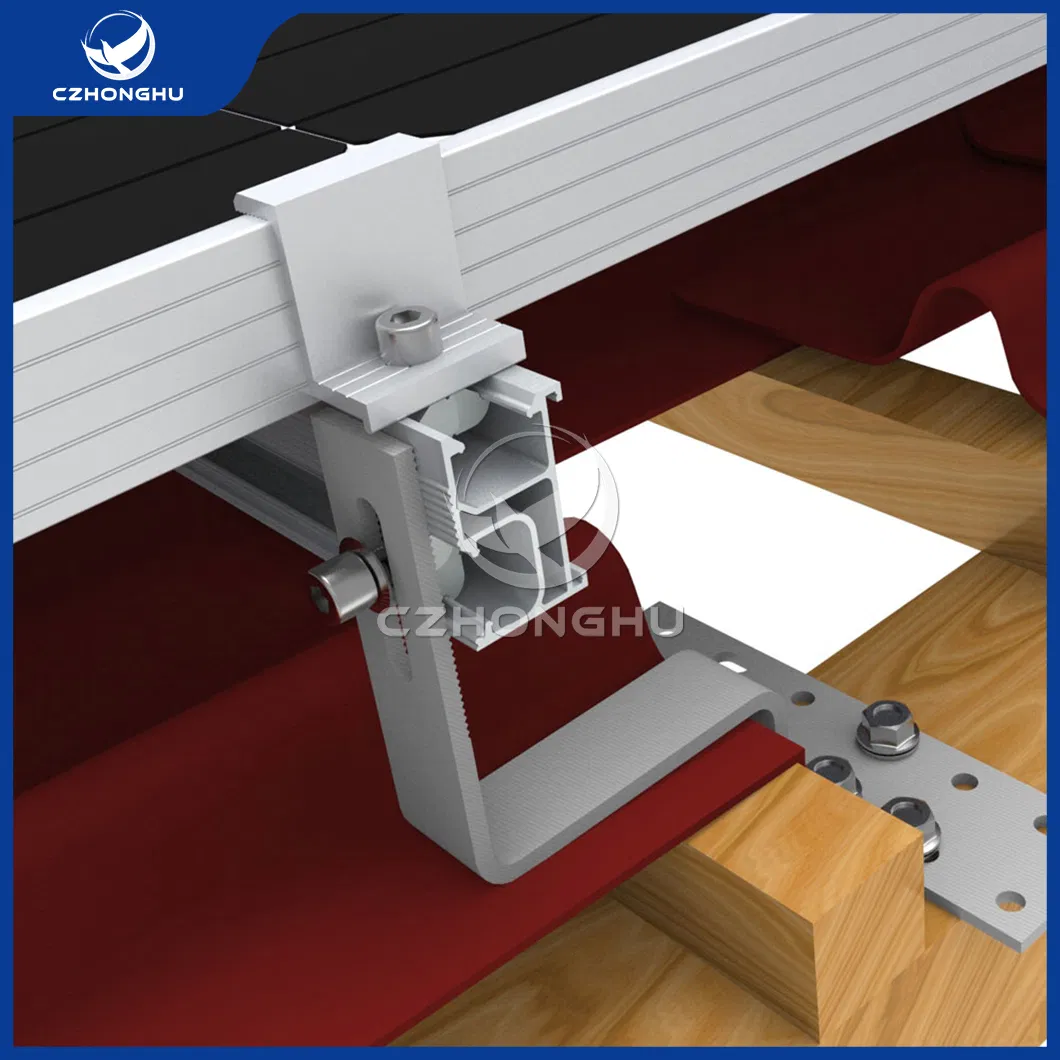
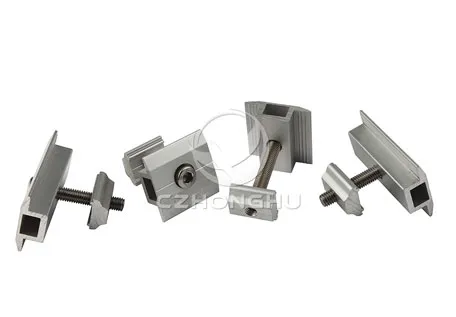
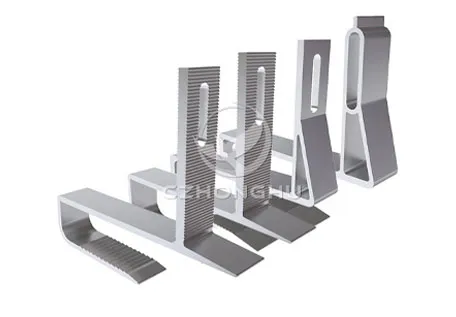
Solar panel mounting brackets are components used to secure solar panels in place and facilitate their installation on various surfaces such as rooftops, ground, or poles. These brackets are designed to support the weight of the solar panels and withstand environmental factors such as wind and weather conditions.
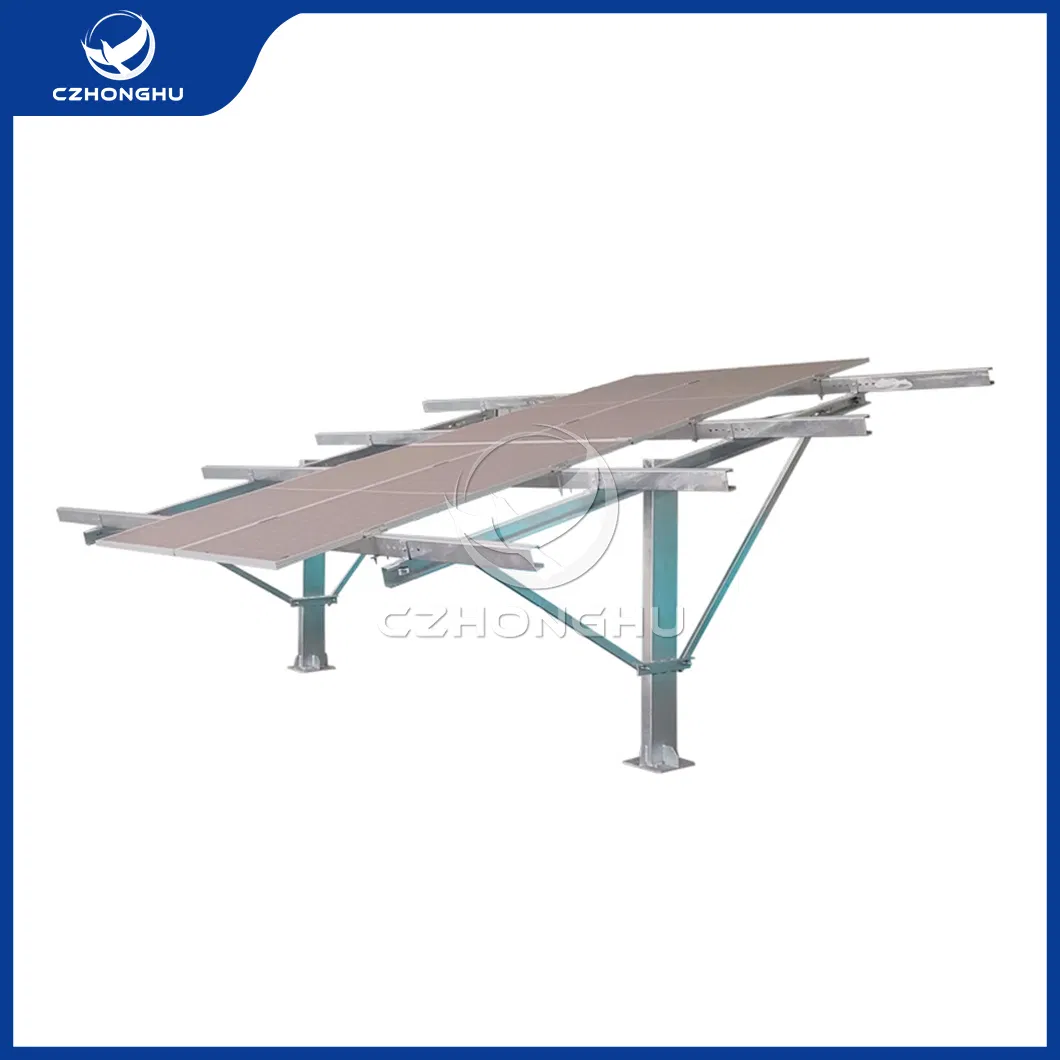
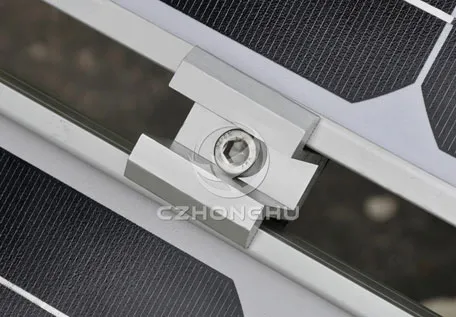
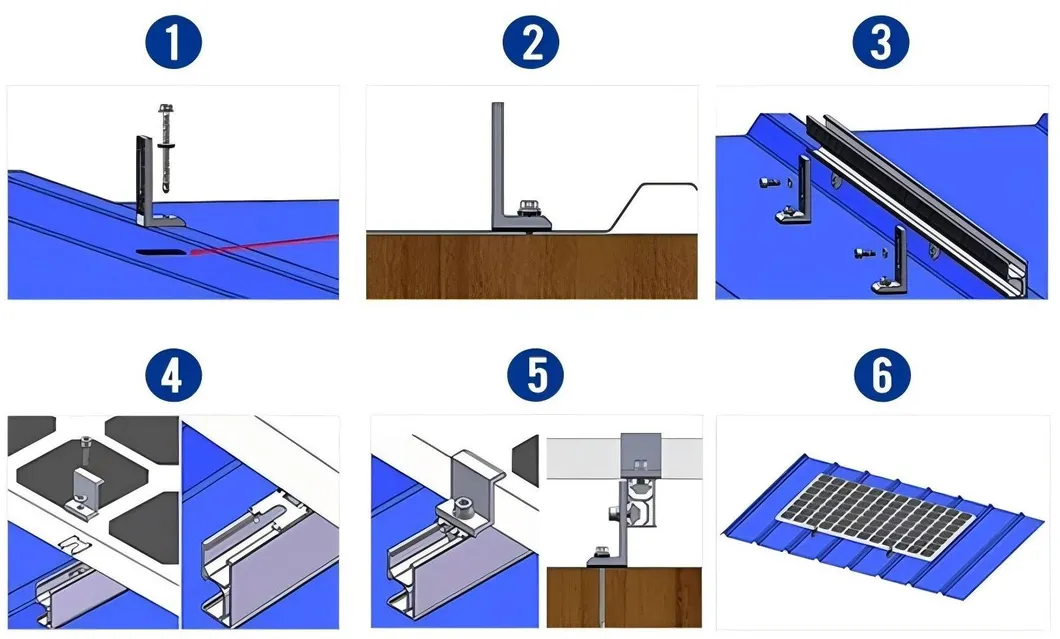
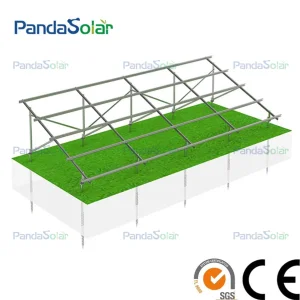
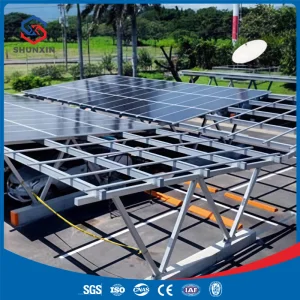
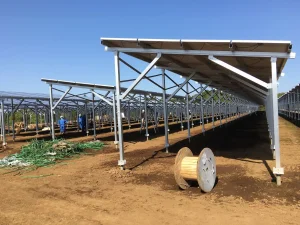
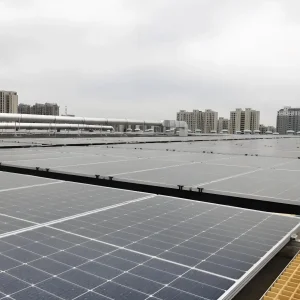
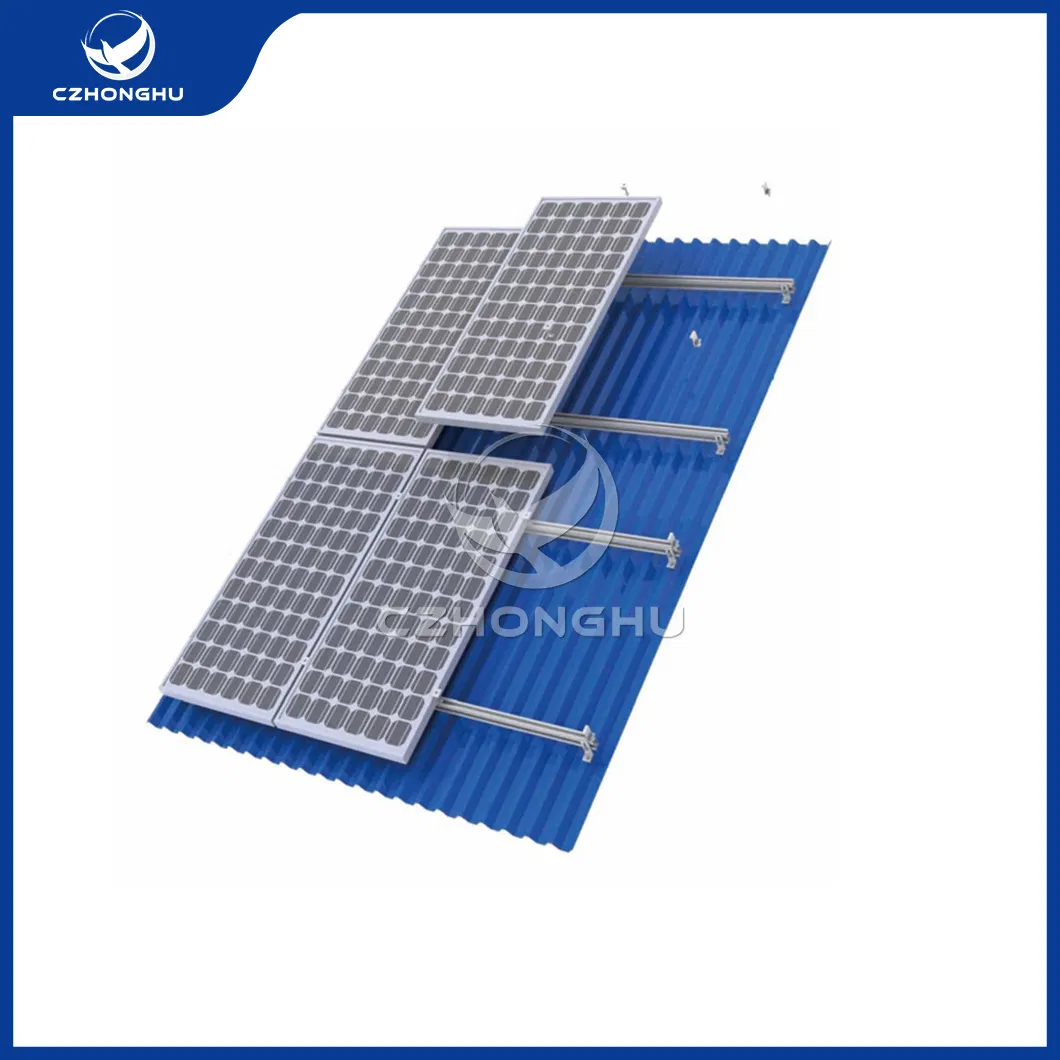
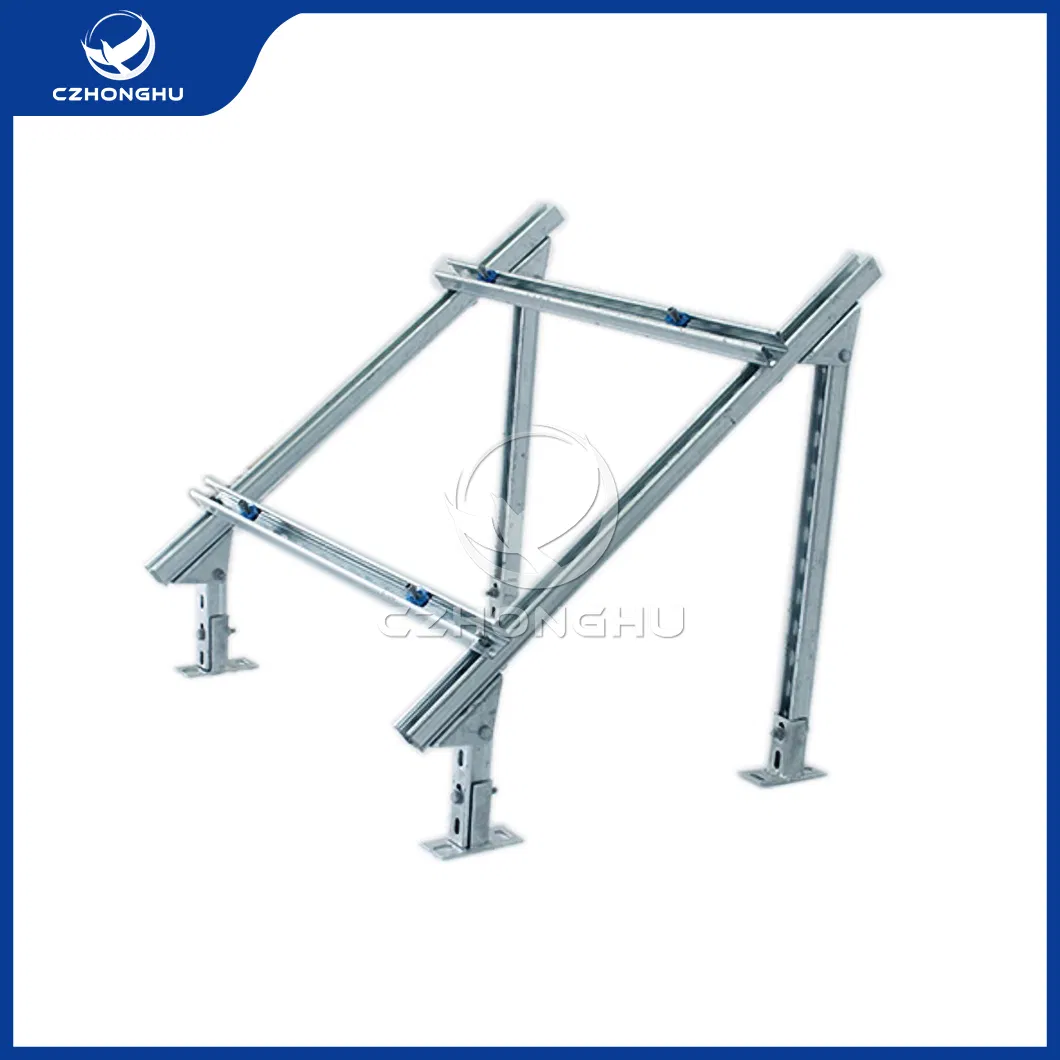
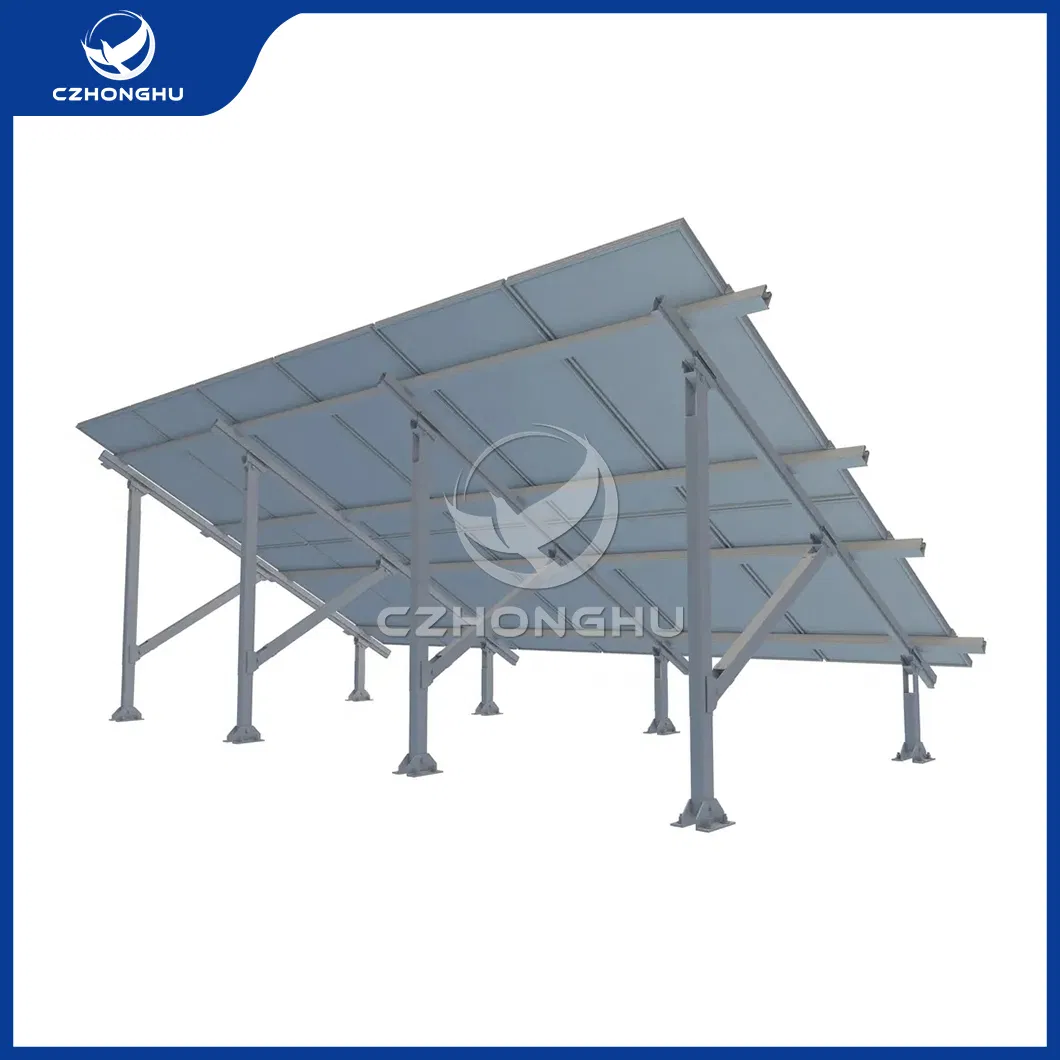
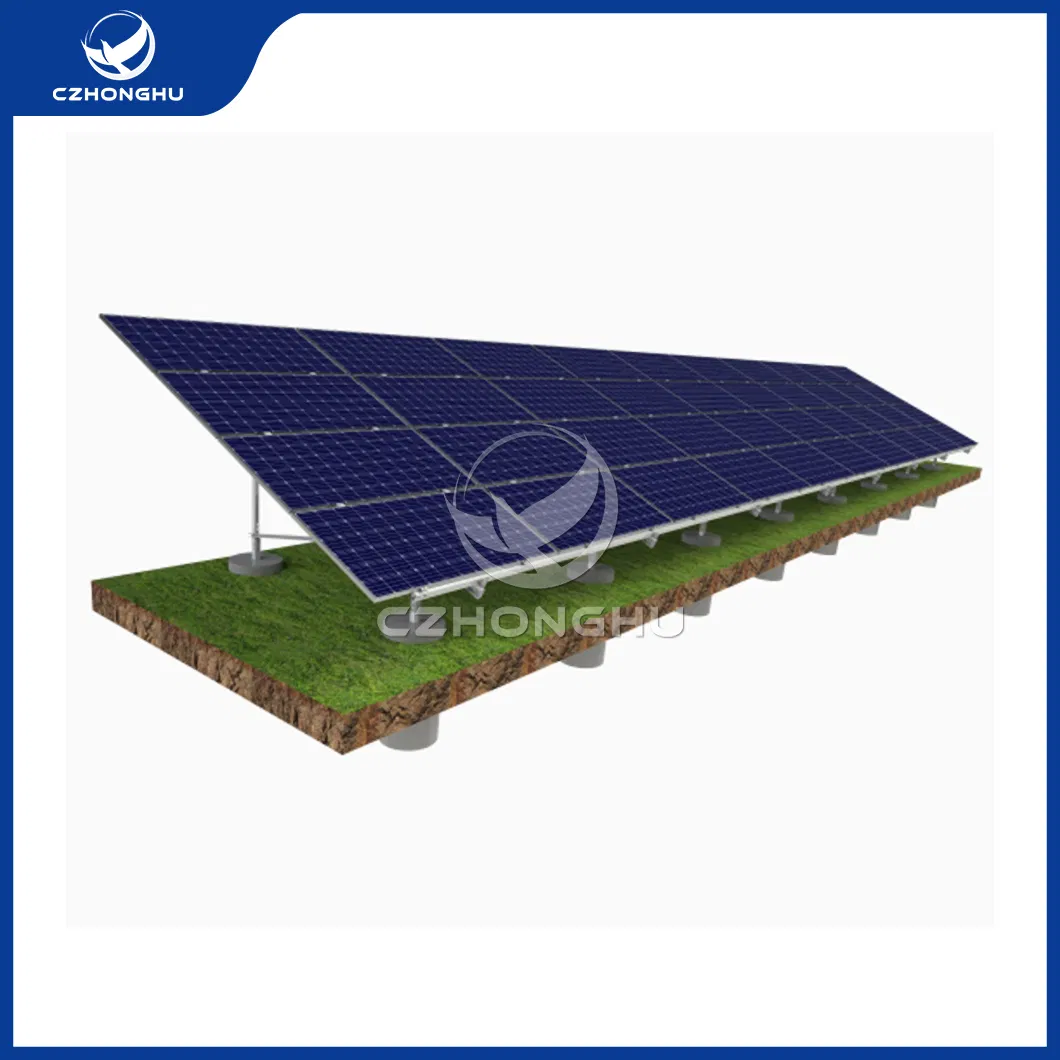
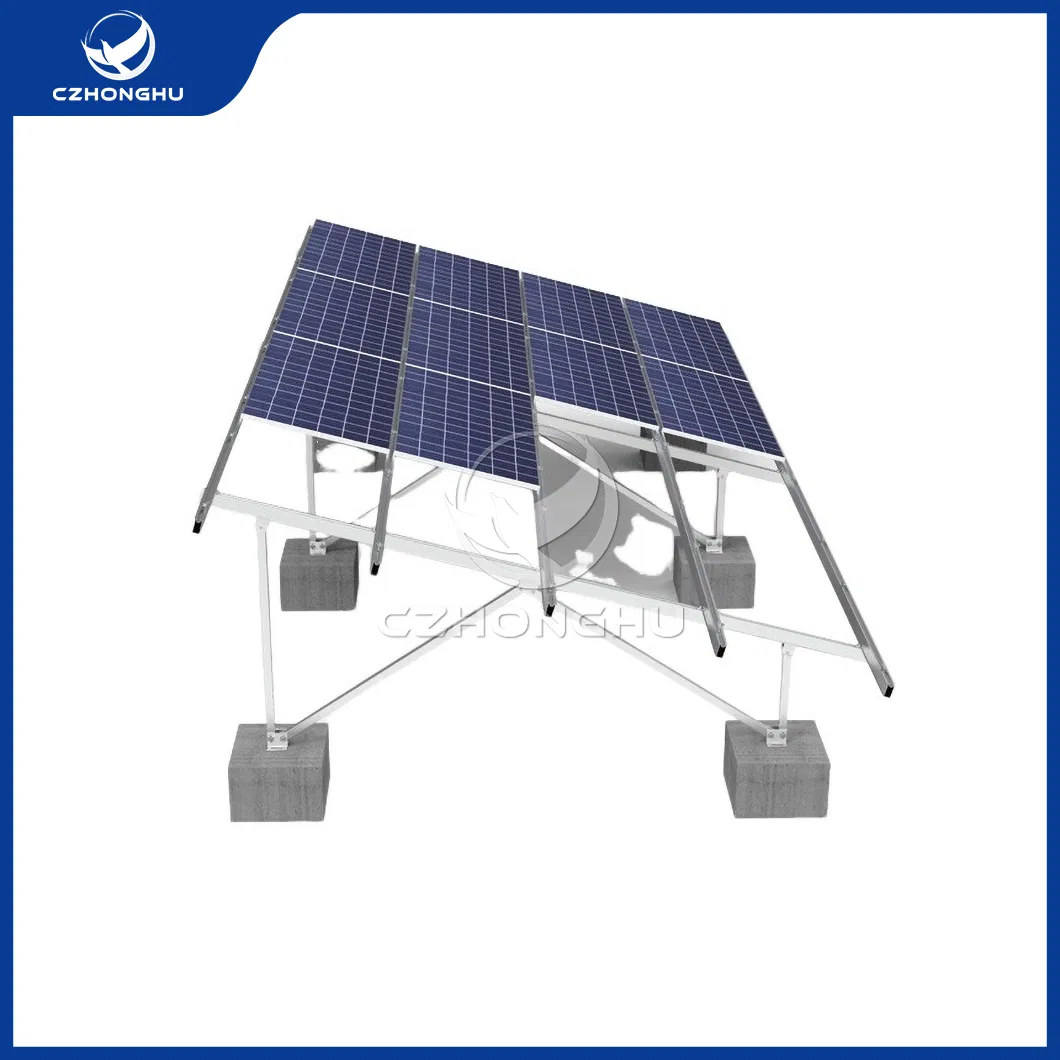
There are different types of mounting brackets available, each designed for specific installation scenarios. For example, rooftop mounting brackets are designed to securely attach solar panels to roofs using roof hooks, rails, and clamps. Ground mounting brackets are used for installation on the ground, using concrete foundations or frame structures to secure the panels.
| SOLAR PANEL MOUNTING BRACKET SPECIFICATION | |
|---|---|
| Keywords | Solar Panel Brackets |
| Mounting Type | Roof Solar Mounting System |
| Feature | Quick Installation/Adjustable/Easy Installation |
| Finishing | Plain, Sand Blasting, Polishing |
| Standard | DIN, ASTM/ANSI, JIS, EN, ISO, AS, GB |
Roof mounting brackets are a great solution if you do not have a lot of ground space available.
Adjust the angle of the panels to face the sun directly, improving system efficiency.
Designed to withstand harsh weather conditions, ensuring a long-lasting solution.